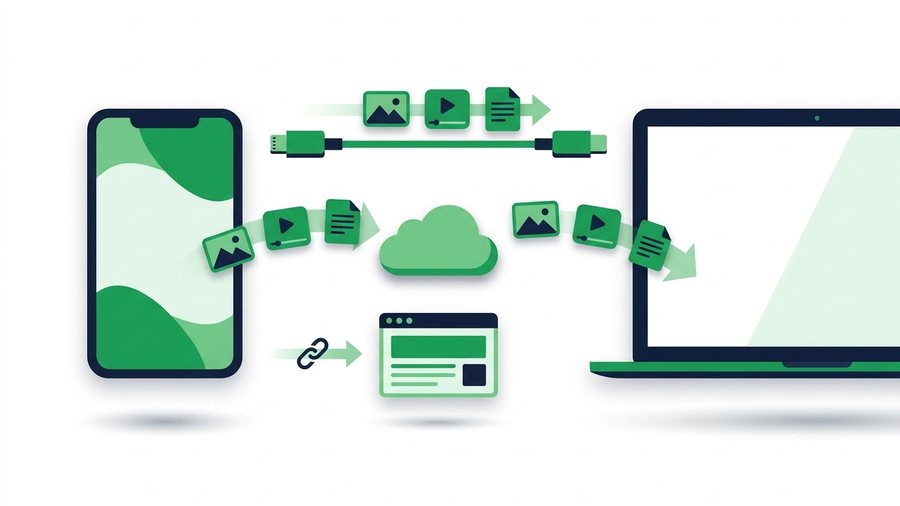
Macs and Android phones do not naturally talk to each other. Plug an Android into a Mac and, unlike a USB stick, nothing shows up on the desktop. That surprises a lot of people who just switched to one device or the other and expect a simple drag-and-drop.
The reason is that macOS does not read the file system Android uses over USB by default. You need a helper app, a cloud account, or a browser-based bridge to close the gap. Each approach has quirks worth knowing before you start.
This guide covers the three methods that actually work in 2026, with clear steps and the gotchas that trip people up. By the end you will know which one fits your situation, whether that is a big video backup or a quick two-photo handoff.
Key takeaways
- macOS cannot read Android's USB file system by default, so you always need a helper: a cable app, a cloud account, or a browser bridge.
- Android File Transfer is free and official but dated, and it can choke on files larger than 4 GB in one move.
- A free Google account shares 15 GB across Gmail, Drive, and Photos, so big libraries may need a paid plan.
- The browser link plus QR method needs no install and moves up to 100 files or 3 GB per batch.
Method 1: Android File Transfer App
Google's official desktop tool, Android File Transfer, is the classic cable method for Macs. It is free but a little dated, and it comes with real quirks.
How to Use It
- Download Android File Transfer from Google's site and drag it to your Applications folder.
- Connect your Android phone to the Mac with a USB cable.
- On the phone, pull down the notification shade and tap the USB notification.
- Change the USB mode from Charging to File Transfer (sometimes called MTP).
- Open Android File Transfer on the Mac. A window shows your phone's folders.
- Drag files between the phone window and a Mac folder.
Your photos live in the DCIM folder, and downloads sit in the Download folder.
The Quirks to Expect
Android File Transfer has not been updated in years, so it can feel fragile. The window only stays open while the phone is connected, and it sometimes refuses to launch if it is already running in the background. If it will not connect, force-quit it and reopen. It also does not support files larger than 4 GB in one move on some setups, which matters for long 4K videos.
| Issue | Fix |
|---|---|
| "No Android device found" | Switch USB mode to File Transfer on the phone |
| App will not open | Force-quit and relaunch it |
| Phone charges but no window | Use a data cable, not a charge-only one |
| Large video fails | Split the file or use the cloud method |
Method 2: Google Drive or Google Photos
If you would rather skip the cable, Google's own cloud tools sync neatly to any Mac browser.
Steps With Google Drive
- On your Android, open the Drive app and tap the + button.
- Choose Upload and pick your files.
- Wait for the upload to finish over Wi-Fi.
- On the Mac, open drive.google.com in any browser and sign in.
- Download the files to your Mac.
Google Photos does the same for your camera roll if you turn on backup. The free Google account includes 15 GB shared across Gmail, Drive, and Photos, so large libraries may need a paid plan. Uploads also depend on your internet speed, so a big backup can take a while.
Method 3: The No-Install Browser Link and QR Bridge
When you want files on your Mac in under a minute and do not want to install anything, a browser-based transfer is the smoothest path. It works because both a Chrome or Safari tab on the Mac and your phone's browser can open the same share link.
Why This Beats a Cable for Quick Jobs
There is nothing to download, no account to create, and no USB-mode fiddling. You upload from the phone, and a link plus QR code appear. That is the whole appeal of ShareIt.onl: a browser link and a QR code mean it works on any operating system, Android and macOS included.
Steps
- On your Android, open your browser and go to the file-sharing site.
- Tap upload and choose up to 100 files or 3 GB total.
- A short link and a QR code appear on screen.
- On your Mac, scan the QR code with the phone or type the link into a browser.
- Download the files. The public link expires later; the sender controls the stored files in My Files.
This method shines for photos, PDFs, and most videos - a 3 GB batch covers a lot. For a full library backup or anything past that cap, the cable or cloud methods handle the volume better. Our full walkthrough on how to transfer files from phone to PC covers the same idea across platforms, and the QR code sharing guide digs into the scan step.
Tip: Pick an expiry that matches the job - 1 hour for a quick same-desk handoff, or 24 hours if you might not open the link on the Mac until later. Every download also refreshes the link's life by 24 hours, so a busy transfer stays available.
Pre-Transfer Checklist
Comparing the Three Methods
Each method wins in a different situation. Use this to choose fast.
| Method | Install needed | Best for | Size limit | Speed |
|---|---|---|---|---|
| Android File Transfer | Yes, on Mac | Bulk photo/video backup | Storage space | Fast over USB |
| Google Drive/Photos | Google account | Ongoing sync | 15 GB free tier | Depends on Wi-Fi |
| Browser link + QR | None | Files you need right now | 3 GB per batch | Fast on Wi-Fi |
If you often move files between phones of different brands too, our guide on how to share files between Android and iPhone uses the same browser trick.
Tips for a Smooth Transfer
Always use a cable that supports data, not just charging, or the phone will never appear on the Mac. Keep both devices on the same Wi-Fi network for the fastest browser and cloud transfers. And for anything precious, copy rather than move until you confirm the files opened correctly on the Mac.
If Android File Transfer is the thing failing you, Android File Transfer not working covers the fixes and the alternatives. To skip it altogether, use phone to computer transfer.